Good day to you all good fellows. I am back once again from another trip away! What was that people say about resting during pregnancy? Ha ha. No, to be fair these trips have been very restful if not a little sore on the hips. I've worked from home again today so I can recover.
So I'm back with the last of the adjustment and alteration posts for the Cami pattern. Last week you saw my Cami-Washi hybrid, and I will do a post to show you all of the different iterations of this pattern so far at some point. I hope it goes to show what can be done with one pattern and a few changes.
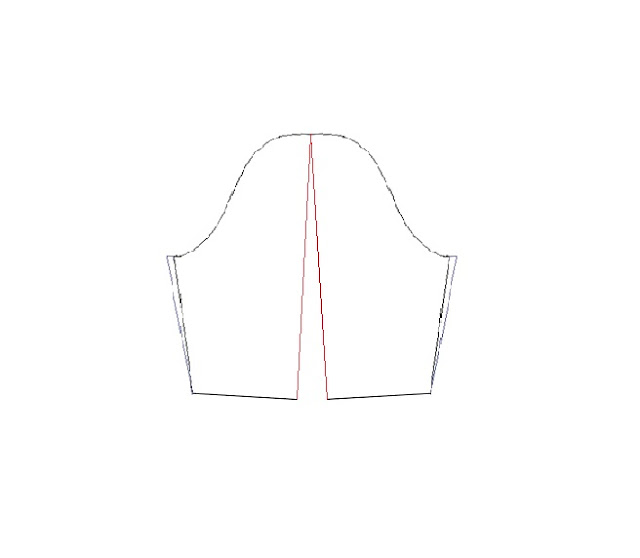
Chronologically, after my last Cami shirt I made the Christmas dress that you can take a nosey at here. The one change that I made to the shirt at this stage was to widen the lower half of the armhole. You may remember that in the last installment of A&A I had extended the armhole, so this now fitted well. However, the width across the arm was still tight, especially in the non-stretch of the navy cotton I had used. Therefore I made the following adjustment to the sleeve pattern,
I began by drawing a straight line down the centre of the sleeve pattern:
I then cut through the sleeve pattern piece, leaving a very small amount of the pattern at the top of the sleeve. This was then used as a pivot point, splitting the sleeve by the amount that I wanted. I ensured that the gap was equal on both sides by measuring the amount from the tip to the base of the split.
I then re-drew the armsleeve, including in these changes, and removing the angle which was caused at the bottom of the sleeve by the pivoting.
This was a speedy fix and probably caused a bit too much at the bottom of the sleeve, especially on the 3/4 sleeve. This may need a little work if I make another longer sleeved version, but it is perfect for the shorter sleeve.
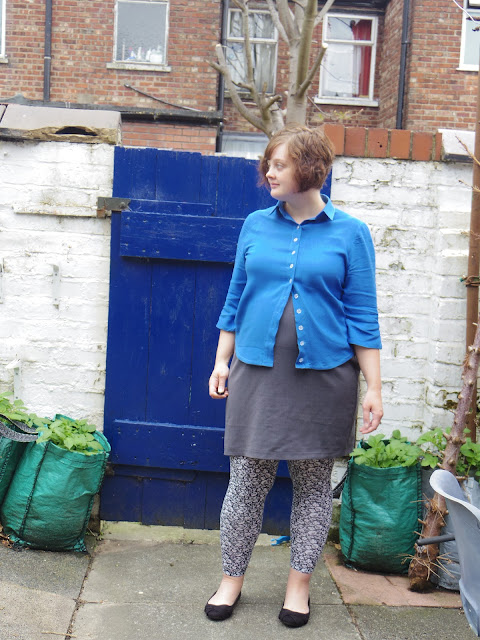
I'm wearing the shirt here with the maternity version of New Look 6128, unfortunately it no longer fits. I think I could make another one with a bit of extra pleating, but I've only got four weeks of work left now so I'm not sure if it would be worth it. I'm very happy with the fit of the shirt, though obviously I can no longer close it ha ha. It works tucked in though, and I have some floaty skirts I can wear with it. I made this in a plain fabric for once which I'm proud of. I didn't even add a quick spot of embroidery to it. Very unlike me!
Cat bombed! You can see that the bottom of the shirt has been shaped more like a shirt than the previous version. I laid a shirt that I had in the drawer over the adapted pattern piece, and traced a new version with a little more room in the hip, and the curve at the bottom of the shirt.
The back of the shirt fits well, though as you can see there are quite a lot of wrinkles in the bottom half of the shirt. I assume this is a sway back issue which needs to be adjusted some more, though maybe it's caused by bump so maybe best to wait before making any changes.
Here's a little picture of bump, though the usual disclaimer applies, I'm bigger now blah blah ha ha.


No comments:
Post a Comment